How to Winterize a Pool: Proper Prep for Cold Weather
As an Amazon Associate I earn from qualifying purchases.
Who doesn’t want the prestige of your very own pool in your very own backyard? But, as they say…with a great pool comes great responsibility. Sadly, pool maintenance is not just for warm weather months because winterizing a pool takes as much planning as swimming in it. Learning how to winterize a pool the right way can save thousands in repairs down the road.
Here’s an easy step-by-step guide on how to winterize a pool:
- Remove all pool accessories
- Adjust the water chemistry
- Deep clean the pool
- Shock the pool
- Add algaecide to the pool
- Lower the water level
- Drain and store pool equipment
- Cover the pool
Follow these steps to minimize harsh weather damage to your pool. More importantly: winterizing a pool this way will help you get up-and-swimming faster when winter is over!
Learn How to Manage Your Pool and Hot Tub
Frustrated trying to keep your pool clear? Feeling confused about when to add the right chemicals? Get the perfect easy-to-use, illustrated ebook and video course today!
When to Begin the Process of Winterizing Your Pool
It is essential to wait for the temperature to drop to the proper levels before winterizing your pool. Algae thrive in warmer temperatures, and you could have a serious problem on your hands if you winterize too early.
The best time to winterize your pool is when the temperature drops below 65℉ and stay there consistently.
Algae also thrive in environments with poor:
- Water circulation
- Water balance
- Water sanitation
- Water filtration
When you winterize your pool, you turn off the pool’s circulation and filtration systems and are no longer monitoring the water balance and sanitation. So if you do not wait for the correct temperatures, you will be creating the absolute ideal environment for algae to grow.
Step 1 – Remove All Accessories
There are 8 basic steps to winterizing an in-ground pool.
You will need to remove all accessories from your pool. These include ladders and steps (if they are removable), skimmer baskets, solar blankets, toys, and cleaners.
For all accessories, you will want to evaluate each one and determine if it needs to be replaced or if you will be keeping it for the next pool season.
You will need the following supplies:
- Hose
- Tarp
- Cleaning solution
- Cleaning rags
- Old towel
- Soft-bristled brush
- Eye protection
The cleaning solution can be bleach water or a vinegar and water mixture. For bleach water, mix ¾ cup of bleach per gallon of water. For vinegar water, mix equal parts distilled vinegar with water.
Spread the accessories out on the tarp and spray each item off with the hose. Put on your safety glasses to prevent bleach and vinegar splashes.
You will need to use a rag and the cleaning solution to wipe down each accessory, focusing on crevices, cracks, and corners. Each piece must be cleaned thoroughly, so you may need to use the scrub brush on filthy areas.
Rinse each item thoroughly and allow it to dry, using the old towel as necessary for any spots that will not dry quickly on their own. The porous toys like pool noodles will need extra time to dry. You may need to turn these items during the drying process to ensure they thoroughly dry.
Once everything is cleaned off and dry, you can store it for the winter.
Step 2 – Adjust the Water Chemistry
A week before closing your pool, you need to start adjusting the chemistry of the water.
Start by testing and adjusting the total alkalinity. Alkalinity is the number of alkaline substances found in the water sample. Alkaline is a pH stabilizer, so your pH will fluctuate less when your alkalinity is adjusted correctly.
The ideal range for pool water alkalinity is 80 – 120 ppm.
If you are on the low side and need to increase your alkalinity, you must add baking soda or sodium bicarbonate. You can use up to 25 pounds of baking soda per 10,000 gallons of pool water.
On the other hand, if you need to decrease your alkalinity, you can add sodium bisulfate, also known as dry acid or muriatic acid.
Next, you will need to test your pH level. This level indicates how acidic or basic the water is. A pH of 0.0 to 7.0 is acidic, while 7.0 to 14.0 is basic.
A pool’s ideal pH level is 7.4 to 7.6.
If you need to increase pH, you can add sodium carbonate, also known as soda ash. 6 ounces of soda ash will raise the pH of a 10,000-gallon pool by 0.2.
If your pH continues to fluctuate, you need to go back to your alkalinity:
- If that is too low, the pH will not stabilize.
- If you need to decrease pH, add sodium bisulfate or muriatic acid.
You may have calcium buildup if you have noticed a white line or scale forming near your water line. Calcium buildups can make your pool look dirty and damage your pool’s material and equipment.
The ideal level for calcium hardness is 200 – 400 ppm.
If you need to increase your calcium hardness, add calcium chloride, following the label directions. If you need to decrease the hardness, you will need to partially drain the pool and fill it back up with fresh water. You can use flocculants and a pool vacuum to collect excess calcium.
Finally, you will need to check the levels of your sanitizer. Sanitizer keeps your pool clean and free of bacteria. Chlorine is the most common type, and it comes in several forms, including liquid, granular, and tablet. Shocking your pool (see step 4) is the quickest way to refresh and sanitize your pool water.
When testing the sanitizer levels, look at free chlorine and total chlorine. Subtract the total chlorine from the free chlorine to find out the pool’s used chlorine.
The ideal level of chlorine in a pool is 3 ppm.
Refer to this water chemistry levels cheat sheet the next time you’re winterizing your pool:
| Ideal pool water alkalinity | 80 – 120 ppm |
| Low alkalinity | Add baking soda or sodium bicarbonate. Use up to 25 pounds of baking soda per 10,000 gallons of pool water. |
| High alkalinity | Add sodium bisulfate (AKA dry acid or muriatic acid) |
| Ideal pool water pH level | 7.4 – 7.6 |
| Low pH | Add sodium carbonate (AKA soda ash). 6 ounces of soda ash will raise the pH of a 10,000-gallon pool by 0.2. |
| High pH | Add sodium bisulfate or muriatic acid |
| Ideal pool water calcium hardness level | 200 – 400 ppm |
| Low calcium hardness | Add calcium chloride (follow label instructions) |
| High calcium hardness | Partially drain the pool and fill it with fresh water. Use flocculants and a pool vacuum to collect excess calcium. |
| Ideal pool water chlorine level | 3 ppm |

The Pool Care Handbook and Video Course
Frustrated trying to keep your pool clear? Feeling confused about when to add the right chemicals?
This guide cuts out all the confusion of pool maintenance in this easy-to-read illustrated ebook and a video course. It’ll help you save $100 right away on pool care!
Step 3 – Deep Clean the Pool
First, you will want to skim the pool’s surface by removing any floating debris. Before targeting the individual pieces, you will likely have hot spots of waste that you should focus on first.
Next, use your pool brush, preferably a 360-degree brush, to scrub all of the pool’s walls and floor. It is important to note that most of the bacteria you are removing is invisible to the naked eye. For this reason, you will want to be as thorough as possible.
You will also have to vacuum the bottom of the pool to get out all remaining debris. This vacuuming will pick up what was brushed off the walls and floor.
Now it’s time to clean the pool’s filtration system. You will need to backwash the filter and use a chemical cleaning solution to clean the filter and filter media.
Most importantly, turn off the system! You should never work on a running filtration system, plus you are shutting it down for the season.
Turn the air relief valve to the open position to bleed the filter tank of air. Never open the filter tank while it still has pressure in it, as this can cause damage to the system or you.
Open the tank by removing the clamp that secures the lid on the tank. Once the clamp is off, carefully pull off the top section of your filter tank. Models vary, so you may find either a single large cartridge or up to four smaller ones. Remove all of them and set them to the side for cleaning.
As long as you clean them regularly, good quality cartridge filters should last up to three to five years before needing to be replaced. Each time you wash them, you should inspect the cartridges for visual signs of damage, such as tears in the pleats and cracks in the plastic housing. Even small tears can reduce the cartridge’s ability to filter the water.
Next, you will have to clear the debris from the filter cartridge. The most common method is to use a hard spray from the garden hose. In just a few minutes, the water can rinse away all the debris between the folded pleats of the cartridge. Start at the top of the cartridge, work your way down, then flip it upside down and repeat the steps.
Alternatively, some pool owners use an air compressor to remove dirt from the cartridge material. The concentrated stream of air produced by these devices blows the dirt and debris from the pleats of the cartridge and saves the owner money on water.
When the cartridge is particularly dirty with algae, body oils, sunscreen, and sweat that have seeped into the material, you will need to use a commercial pool degreaser or cartridge cleaner. Some brands combine both into single products.
Spray the product directly onto the surface, covering all surface areas between pleats. Leave the compound on for the recommended time and thoroughly rinse off with a hose. If the buildup is especially dense, you may need to soak them overnight.
Once everything is cleaned and rinsed off, you can reassemble the cartridge in the housing. Make sure to close the filter tank correctly and return the relief valve to the closed position.
Step 4 – Shock the Pool
Pool shock is a form of sanitization. It provides a fast, high dose of chemicals that chemicals destroy algae, bacteria, and other waste matter.
For best results, follow the manufacturer’s guidelines for deciding on a dose. Use a quality shock that will not increase the pH or calcium hardness of the water.
Always wear safety gear like gloves, goggles, and work clothes while handling shock.
Prepare the shock ahead of time in a 5-gallon bucket of pool water. Stir the mixture together. With the pool pump running, pour the bucket mixture into the water around the pool’s edges. Let the pump run for at least 4 – 6 hours. Test the water to make sure the chlorine is at the right level.
Step 5 – Add Algaecide to the Pool
Algae naturally occur in plants and the soil. The wind blows spores into outdoor pools, but proper prevention can keep a colony from forming.
Following label directions for pool closing, add a dose of an algaecide. This will protect your pool from algae growth during the off-season.
Make sure to choose one that does not cause surface staining. You will need to allow the pump to run for 24 hours to circulate the product through the water thoroughly.
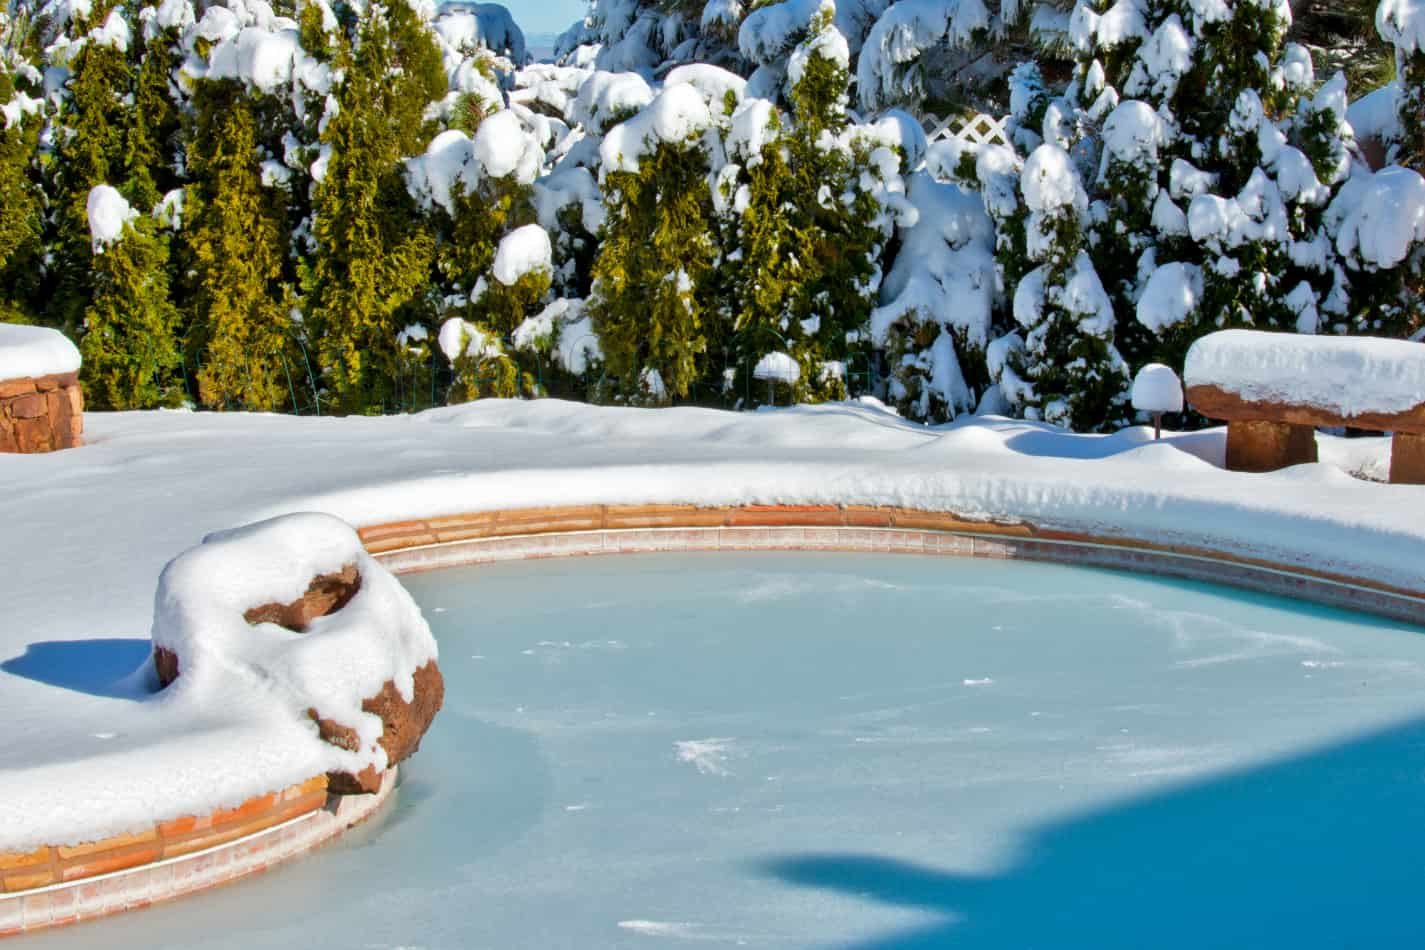
Step 6 – Lower the Water Level
If you live in an area that experiences freezing temperatures, you will have to lower the water level of your pool. Follow this rule of thumb, depending on what kind of cover you have:
- If you are using a mesh cover: drain it down to roughly a foot below the skimmer.
- If you are using a solid cover: drain the pool to half a foot below the skimmer.
This process may take a day or two, depending on the method to remove the water from the pool.
Step 7 – Drain and Store Pool Equipment
I know you’re tired by now, but don’t sleep on winterizing the pool equipment!
First, turn off all the equipment according to the manufacturer’s directions. Remove all drain plugs to drain the equipment completely. The pool pump, chlorinator, and hoses will need to be removed.
Pro-Tip: Use a blower to remove water from the lines. If you live in cold areas, you can also use pool antifreeze.
All equipment should be stored inside for the duration of the winter.
Different filters also have different directions:
- Sand filters need to have the multiplier valve set to winterize. If they do not have a winter setting, they must be set between two positions and have the drain plug at the bottom removed.
- Cartridge filters must be drained, rinsed, and stored indoors.
- Diatomaceous earth filters should be drained, the grids cleaned, and the filter reassembled.
Step 8 – Covering the Pool
There are two types of covers that you can use: safety covers and winter covers.
Safety covers have to be anchored down, but they provide the most protection from debris and animals or people falling in.
Winter covers offer less protection but do not have the hassle of needing to be secured down.
Whichever type you choose, you will need to make sure it is in good condition with no rips or tears and should fit snugly.
You will need to blow up the air pillow and place it in the middle of your pool. Next, you will put the cover on and if it is a safety cover, you will need to secure it with winter cover clips.
Bonus: How to Winterize an Above-Ground Pool
Winterizing an above-ground pool is an almost identical process to that of an in-ground pool, with the only difference being step 7.
An above-ground pool will need the hoses disconnected, and the outlets plugged. This is different from an in-ground pool that requires water to be cleared from pool lines.
Learn How to Manage Your Pool and Hot Tub
Frustrated trying to keep your pool clear? Feeling confused about when to add the right chemicals? Get the perfect easy-to-use, illustrated ebook and video course today!
Recap: Winterizing Your Pool
Pool maintenance is a requirement for all pool owners. If you maintain your pool throughout the pool season, it will not take you long to close down your pool for the winter.
There are several important steps to winterizing a pool. These include cleaning the pool, adjusting the chemistry, lowering the water level, and storing the equipment.
You will need to ensure that you are waiting until the right time and the right temperature to keep your pool in its healthiest state. You will need to make sure you thoroughly clean your pool and filter, make sure your pool’s chemistry is correct, and clean all of your accessories.
Follow these swimming pool winterization tips and you’ll have an easy time reopening your pool for the next swimming season.